")
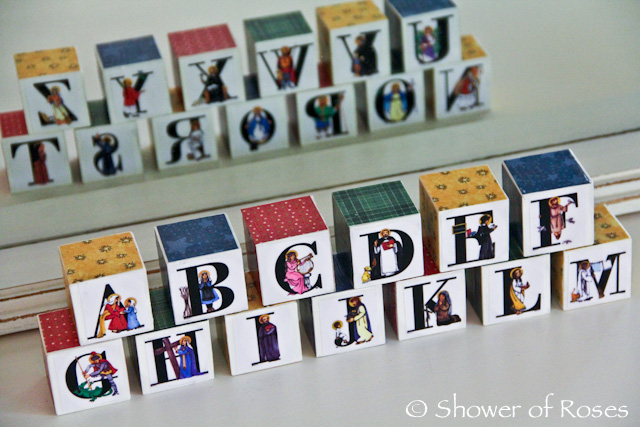 |
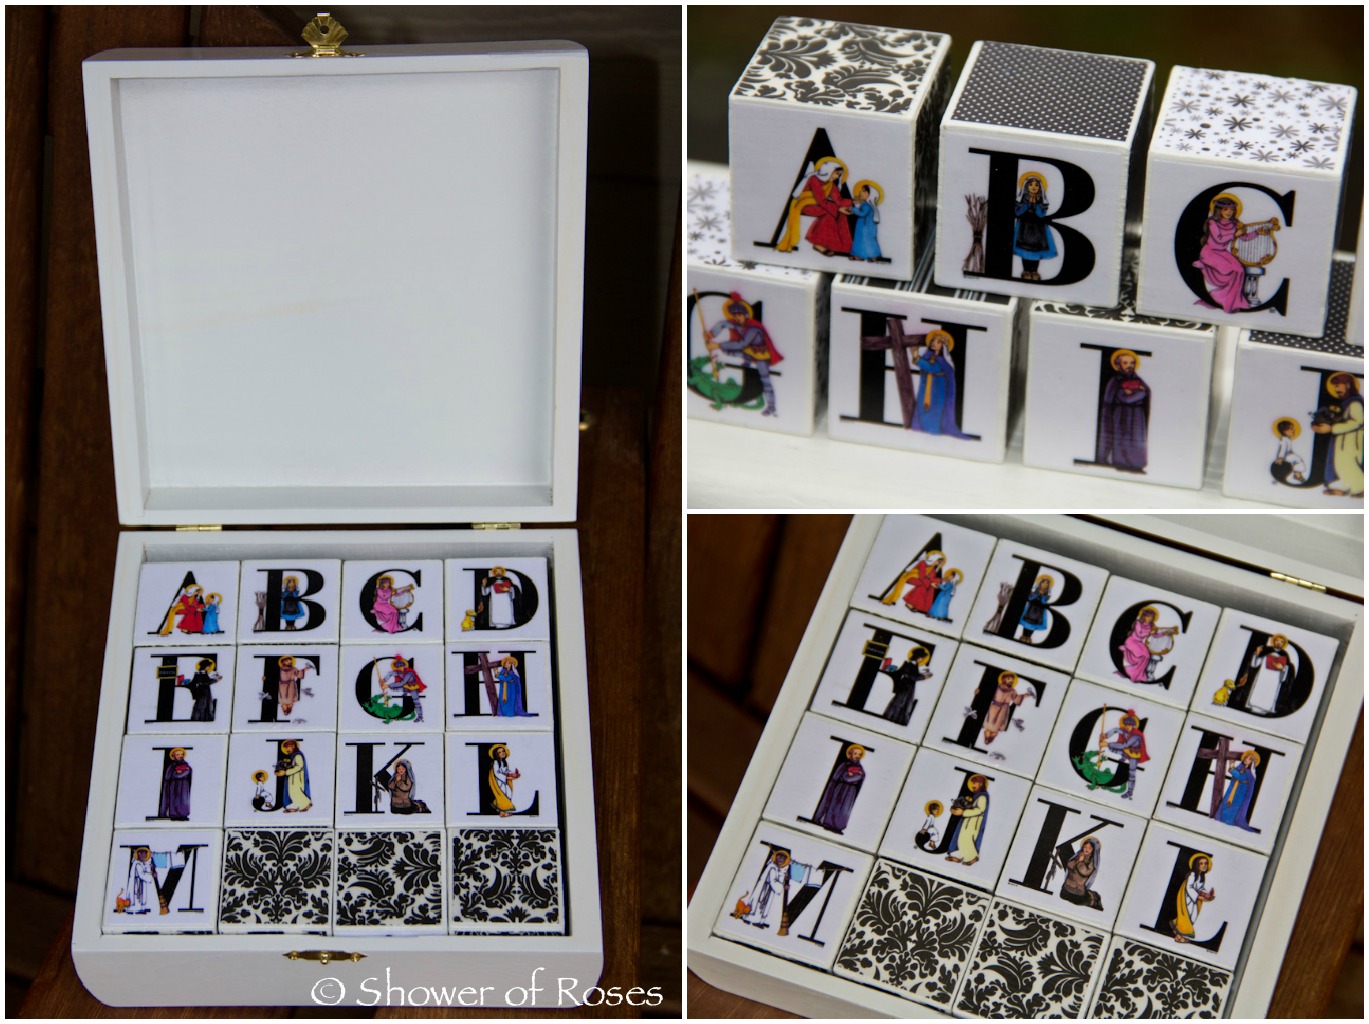
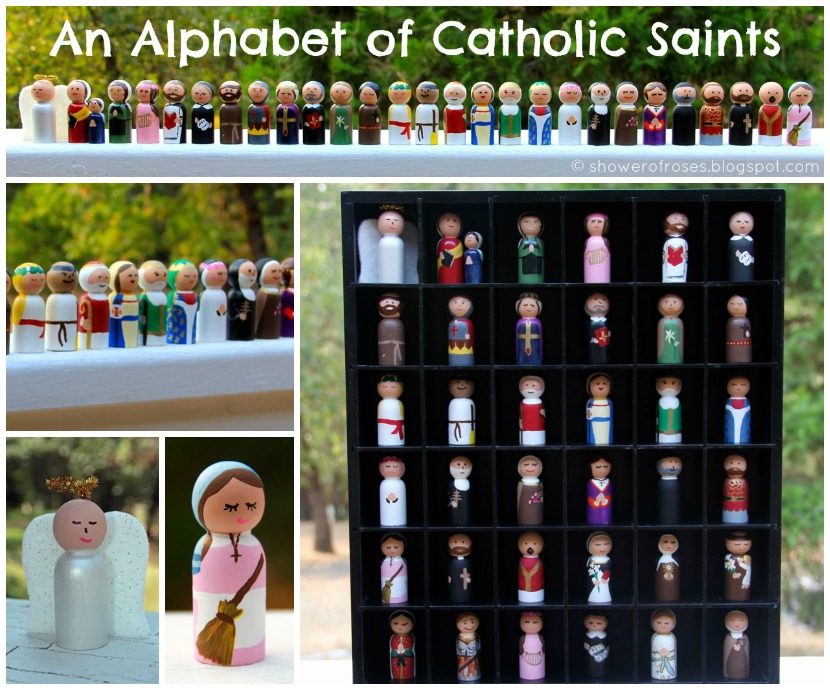
| Snuggles’ Alphabet of Saints Blocks |
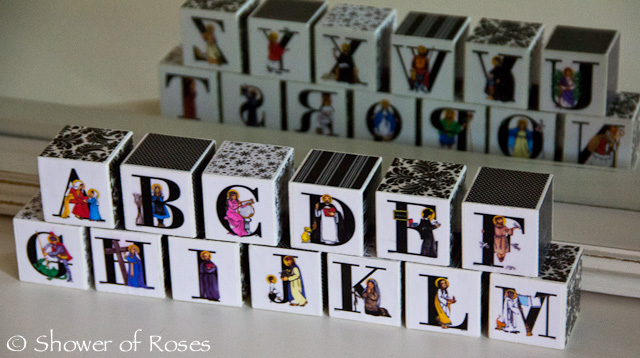 |
| Cupcake’s Alphabet of Saints Blocks |
Originally I had hoped to make eight sets in various colors/designs to give as Christmas gifts, but ended up with just three, Snuggles’ set plus sets for two of our dear godchildren, since my “extra” time was so limited in November and December. I do still have a fourth set in progress for Rose since she loved these blocks so much! In fact, one day she snuck into my bedroom, snatched a few blocks while I was on the phone and then hid under Captain’s desk with them until I found her… Yes, I’m hoping that she will find her very own set (made with rosy pink-uh paper of course!) inside her Easter Basket this year.
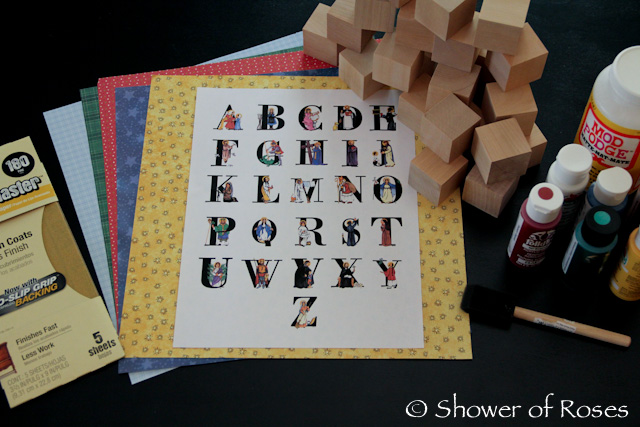
Supplies:
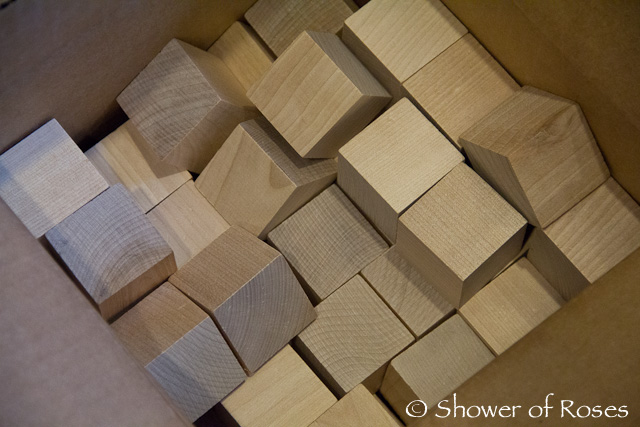
- 1 1/2-inch square wood blocks (I used 13-16 blocks for each set)
- Sandpaper
- Scissors
- Acrylic paint
- Mod Podge
- Paintbrush
- Decorative paper
- Alphabet Letters
- Sponge
Directions:
1. Sand the wooden block with sandpaper to prepare them for painting.
2. Paint the blocks with the color(s) you’ve selected. Allow to dry.
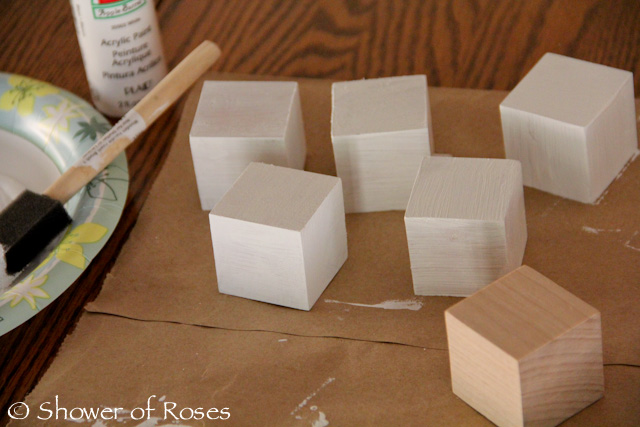 |
| Snuggles’ and Cupcake’s sets were painted white |
 |
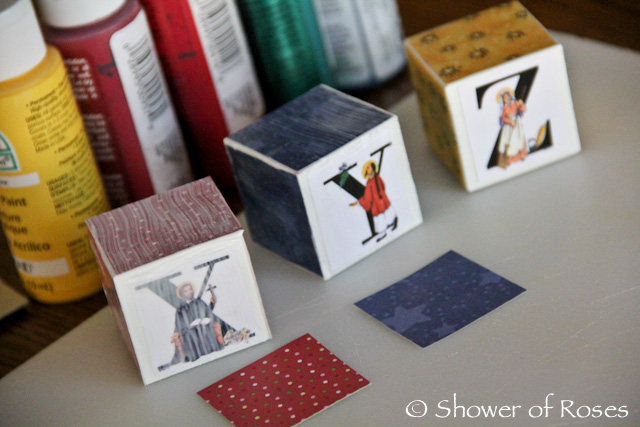
| Bear’s set was painted in multiple colors |
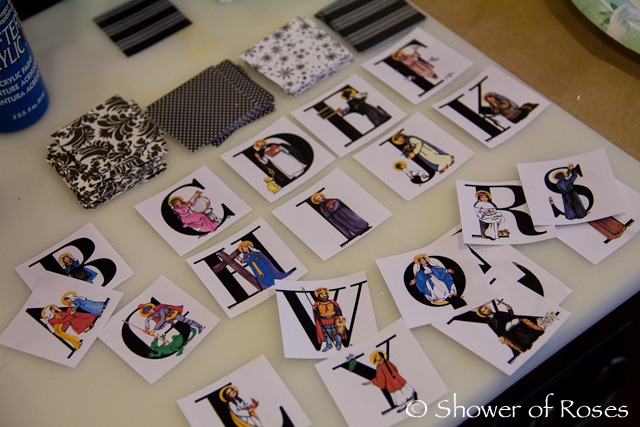
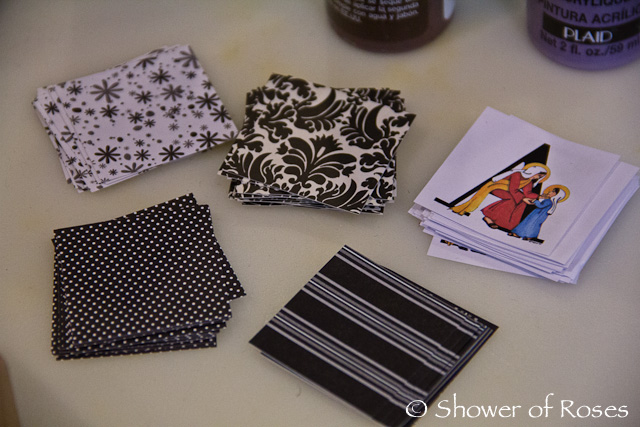
3. Cut the Alphabet Letters and Decorative Paper to squares measuring just under 1 1/2″ each.
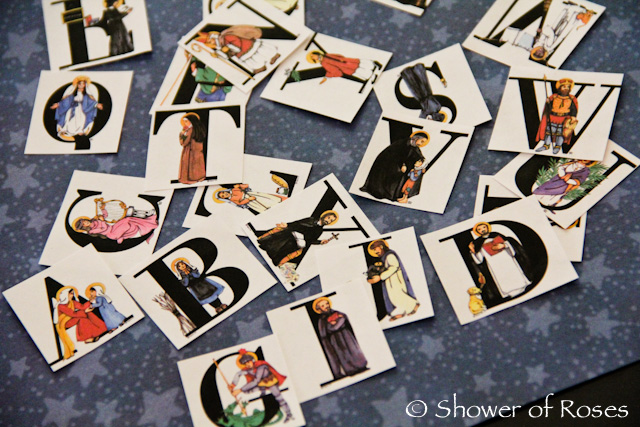
Note: I used the alphabet saint letters from Catholic Artworks, using a CD that they no longer carry. I’ve been told that all these letters and much more are included on their updated CD titled Teach Me to Discover the Saints which is also available from Sacred Heart Books and Gifts. Unfortunately they are not a free printable. Also, the images are very large on the CD. I resized them to the correct size that I needed for these blocks in Word, creating the document that you see in my supplies picture. I am sorry that due to copyrights I am not able to share it with you all. However you can customize this idea with any letters, stickers, or embellishments of your choice!
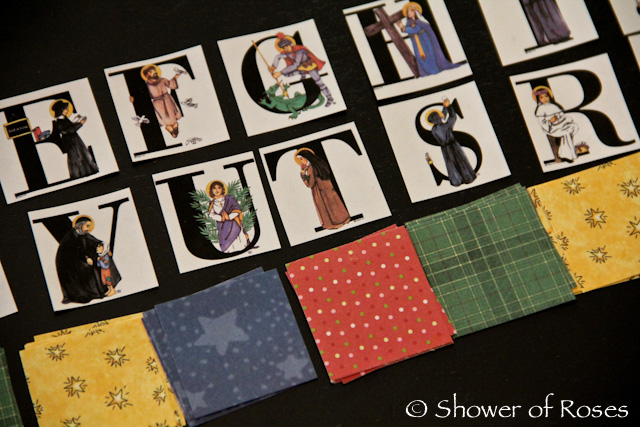
4. Glue the paper to each side of the block using all-purpose Mod Podge. Allow the glue to dry.
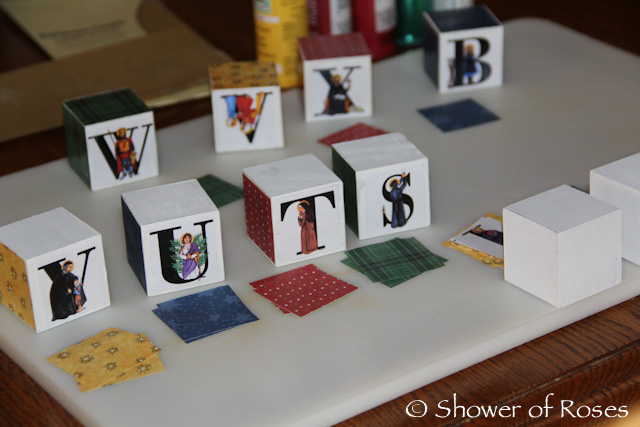
Note: Using 13 blocks I started with letters A-M on the fronts and then continued with letters N-Z on the backs (in order with N on the back of M and Z on the back of A). Since I had room for three extra blocks in the box for Cupcake’s set I added a few extra vowels and consonants for her to use in creating her names.

5. Very carefully, to prevent the printed alphabet paper from smearing, paint another coat of Mod Podge all over the block to seal. Allow to dry.
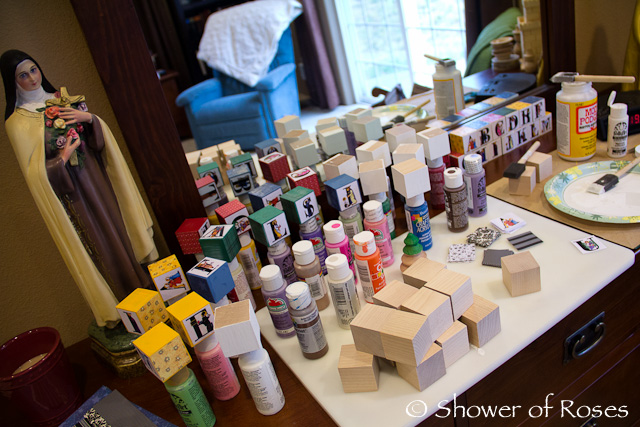 |
| This is what my husband patiently put up with on our bedroom dresser most of Advent! |
6. All Done! I also found a nice little wooden box at Michaels which held the completed blocks beautifully… I was only able to find one so I’m hoping that I can find more the next time I make it back to the craft store.


I'm glad you finally posted about these! They are adorable!
What a wonderful idea! Although I am still painting my wooden saints (and I started at the same time you first posted them on your blog!), I am inspired to try these. You always have such lovely ideas, and I am so blessed by the projects, ideas, and recipes you post.
What a great present – homemade and beautiful! Thank you for sharing.
Wow – what a great idea, and they turned out really well!
What an adorable ideas. Thanks for sharing.
Jessica, what a brilliant idea! I love the blocks, the perfect sized box and of course the Artworks saints! Hey, I mentioned your awesome Bingo set on my blog today….it's such a great printable! thanks for all the work that you do! you inspire!
Jessica–those turned out beautiful!
Cute – cute! but I am curious how you did not have your ink smear on the letters when you put your top coat of modge podge on? I have done something like this before, but my print's (picture printed from my home printer) ink smeared when I applied modge podge…?
I was expecting that too, Katie, but I did let the paper "dry" for a day or two, and then I was very VERY careful when applying the Mod Podge. I brushed a quick layer on without brushing it back and forth to smear the ink and let it dry before adding more.
I have heard that you can have your pictures printed somewhere with a heat set printer (?) or something like that, and that is another option.
These blocks are so amazing!! They could be customized in so many ways! Just curious, did you buy the wooden blocks or cut them yourself? They look like they are made out of fairly nice wood. I am by no means handy with power tools, but I think I could persuade my husband to make them if need be. 🙂 Thank you for sharing!
Wow! I'm speechless! They're lovely! How do you find the time? Do the children help you?
Oh my! They are so beautiful! I'm confused though….where can I get the exact ones you used???? I looked at the link, but couldn't figure out which they were. Thank you for EVERYTHING you do! Blessings!
These are great! I too used the link but could not find the alphabet cards there.
If you use a heavier paper for printing, you can spray it with a light layer of hairspray and wait for it to dry. It significantly reducing the mod podge smearing.
Sorry for the confusion. I've updated the post with a little more explanation:
I used the alphabet saint letters from Catholic Artworks, using a CD that they no longer carry. I've been told that all these letters and much more are included on their updated CD titled Teach Me to Discover the Saints which is also available from Sacred Heart Books and Gifts. Unfortunately they are not a free printable.
Also, the images are very large on the CD. I resized them to the correct size that I needed for these blocks in Word, creating the document that you see in my supplies picture. I am sorry that due to copyrights I am not able to share it with you all.
Thanks! I just answered this question in the comment above. Hope that helps! 🙂
Thank you Angela! I've been really excited to share these with you all! 🙂
I purchased the blocks pre-cut. You can purchase a bag of 10 for $4.25 or a box of 100 (which is what I purchased) for $33.50 plus s/h from Woodworks LTD which is where I buy most of my wood crafting supplies including our peg dolls. They do offer free shipping on a $75 order.
Thanks, Katie! 🙂
Other than Snuggles helping with the initial painting of his own set, I made these on my own. Like I said it was very difficult to find the time, which is why I generally make very few homemade gifts at Christmastime… It stresses me out too much! 😉 What I would do was work in little increments (an hour here and there) mostly on the weekends when my husband was home. One afternoon I would paint the blocks (I couldn't do all sides at once, since one side would need to be dry to set them down) and another time I'd go back and paint the rest of the sides. Then I would do the same with all the stages of the paper. Basically a few sides at a time until they were all done.
It definitely isn't a quick craft, and does take patience and lots of time, but I thought the end results were worth the effort. And like I said, I only completed 3 sets when I initially planned to make 8!
Thanks for the tip!
Thanks, Monica! I'll have to pop over and take a look at your post! 🙂
Thank you for the link!! I am thinking these would be a great birthday gift for a young man of mine who is turning 4 in a few months! Guess I better get busy! 🙂